Octal Clock
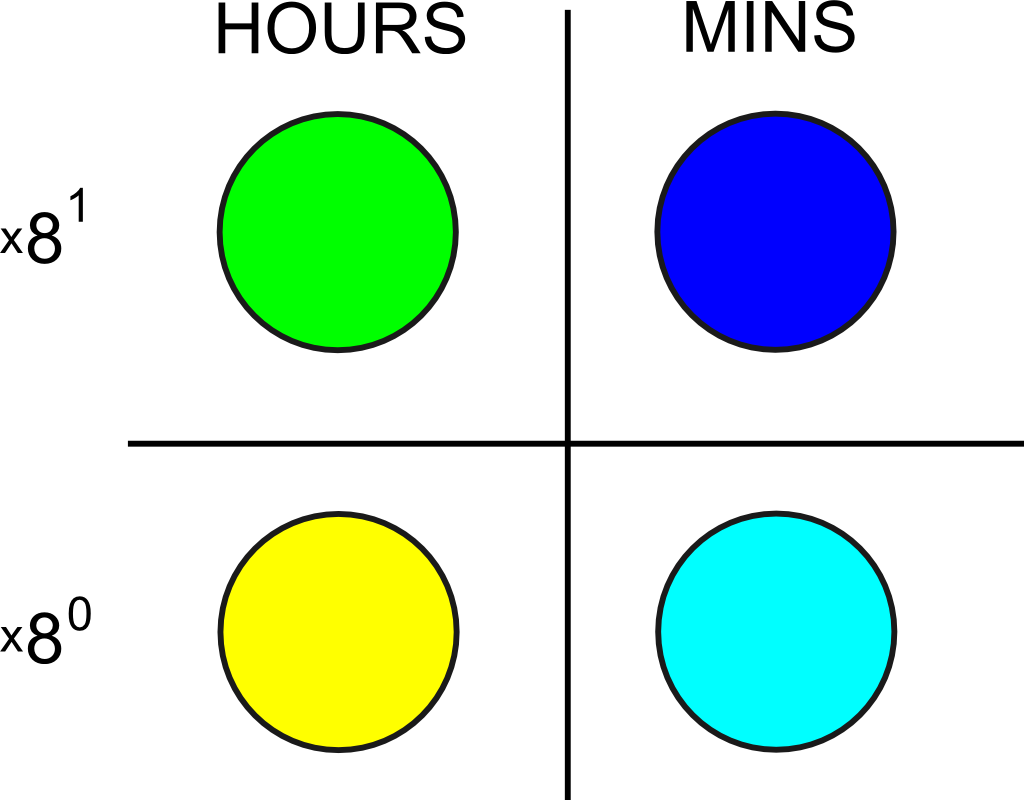
We've all seen various incarnations of the binary clock . I thought it would be fun to take it a step further and make an octal based clock using the principle of color addition. Values are assigned as illustrated below with zero represented by the off state.


The face of the clock is configured as shown in the diagram below, with time presented in the 24 hour format. In this figure the current time is 19:38


Hardware
The hardware in the project is a bit overkill for the task at hand, but I thought it would be nice to have something with a bit of future hacking potential. An Atmel ATmega64 is used as the main controller, with a 1 Hz interrupt generated by a Maxim DS1306. A Xilinx XC9536PC44 CPLD is used to multiplex the PWM signals to the 12 LEDs in the display (this could have easily been done with some discrete CMOS 4000 series chips instead). The resistor values on the LEDs have been changed from the schematic values to provide a more equal luminance (green~50 ohms, blue~500 ohms, red~1k). Nonetheless, it was still necessary to implement specific PWM values to create all desired colors.
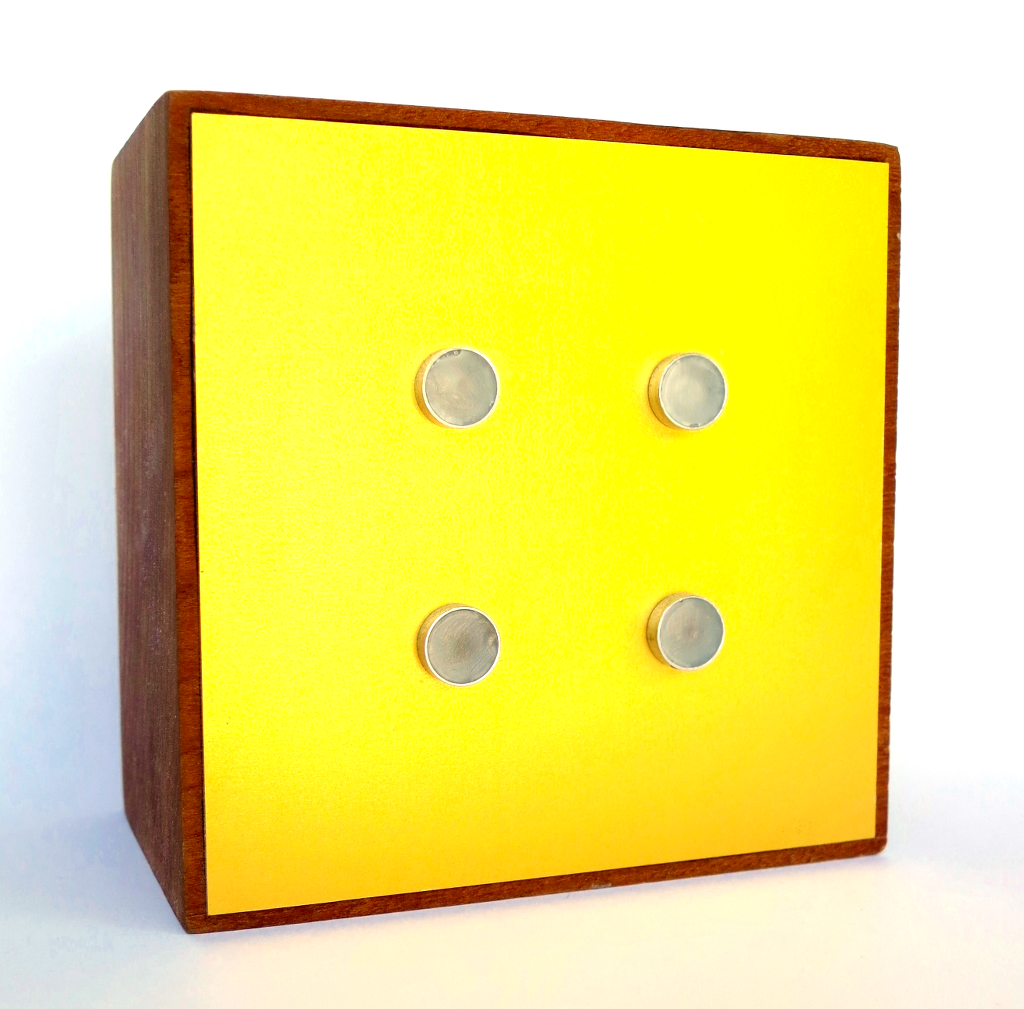
I didn't have any experience with multicolored LEDs, and choosing clear lenses was a mistake. I attempted to scruff the surface of each LED with a file to diffuse the light, but this was not sufficient. In the end, I resorted to potting each LED in paraffin wax to provide diffusion. Unfortunately this doesn't leave a very durable surface. Epoxy with glass micro-spheres could have been used, but I was worried about air pocket inclusions as it would have been impossible for me to pull a vacuum over the lenses during the curing stage.
Firmware
Assembly language was chosen because it's fun ;). It would be possible to rewrite much of the code in C, but i think that the interrupt driven scan routine would be best left in assembly (it would be a fun experiment). Because such a large microcontroller is used, the code is optimized for speed, not size. The fading algorithm is made to be proportional for each color of the active led (further explanation is in the source code).
Enclosure
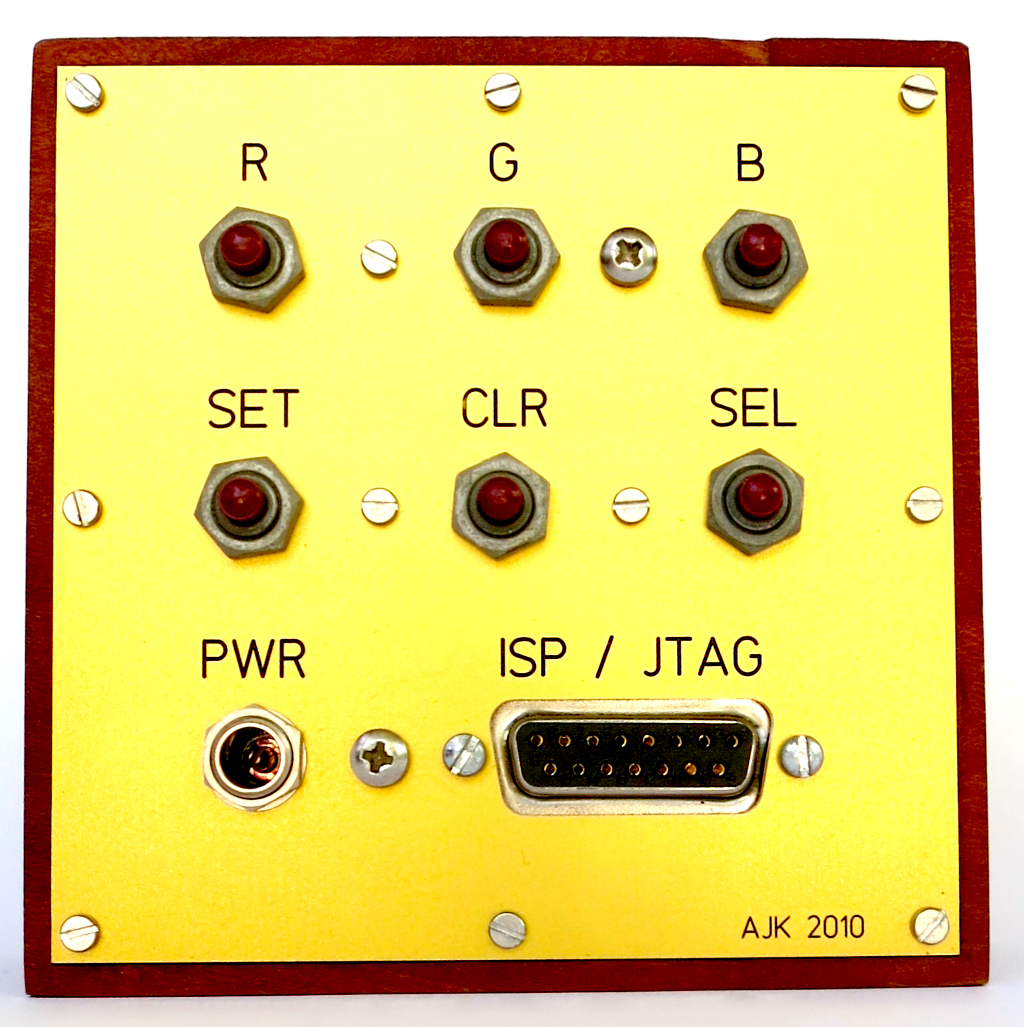
I regret making the tolerances so tight. After rough milling of the mahogany block, it took quite a bit of work with an X-Acto knive and needle file to make everything fit. The finish is a mixture of linseed oil and turpentine. The front and back panels are milled from anodized aluminum.
Demo
Here is a short video showing the transition from 9:59 to 10:00